

VFFS Thermal Transfer Ribbon Broken? 3 Fixes Before You Throw It Away
VFFS Thermal Transfer Ribbon: Don't Throw It Away Yet
3 Adjustments That Save You a Ribbon Budget
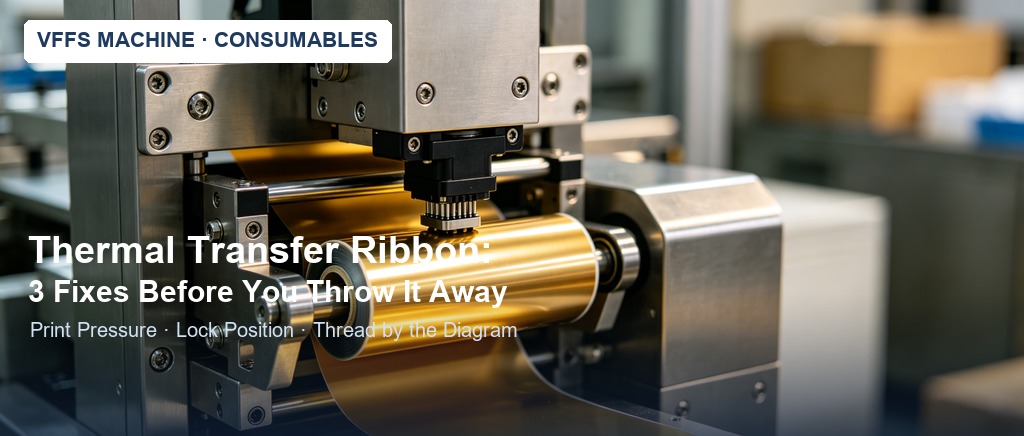

Cover: thermal printhead pressing on the gold ribbon
Mid-run, the ribbon snaps, or the date on the bags fades in and out. The line reaction is always the same: the ribbon is finished, swap it — or call service.
But veterans know: most broken or faint ribbons are not the ribbon's fault at all — they come from 3 unadjusted points on the coding head. Today we break them down from the manual.
01 First: How This Date Coder Works
“The date printing unit uses thermal transfer: two lines of text, up to 12 characters each.”
— VFFS instruction manual §8.1
Remember where it sits in the film path: from the back fixing roller, the film goes through the coder, then the photoeye, front fixing roller, tension roller, and finally the forming tube. The coder prints the date first; the photoeye then hunts for the mark. A drifting coder ruins everything downstream.
02 Point One: Print Pressure — It's the Air-Cylinder Inlet
“Control print pressure by adjusting the air-cylinder inlet, so the mark is clear and the film is not punched through.”
— VFFS instruction manual §8.2
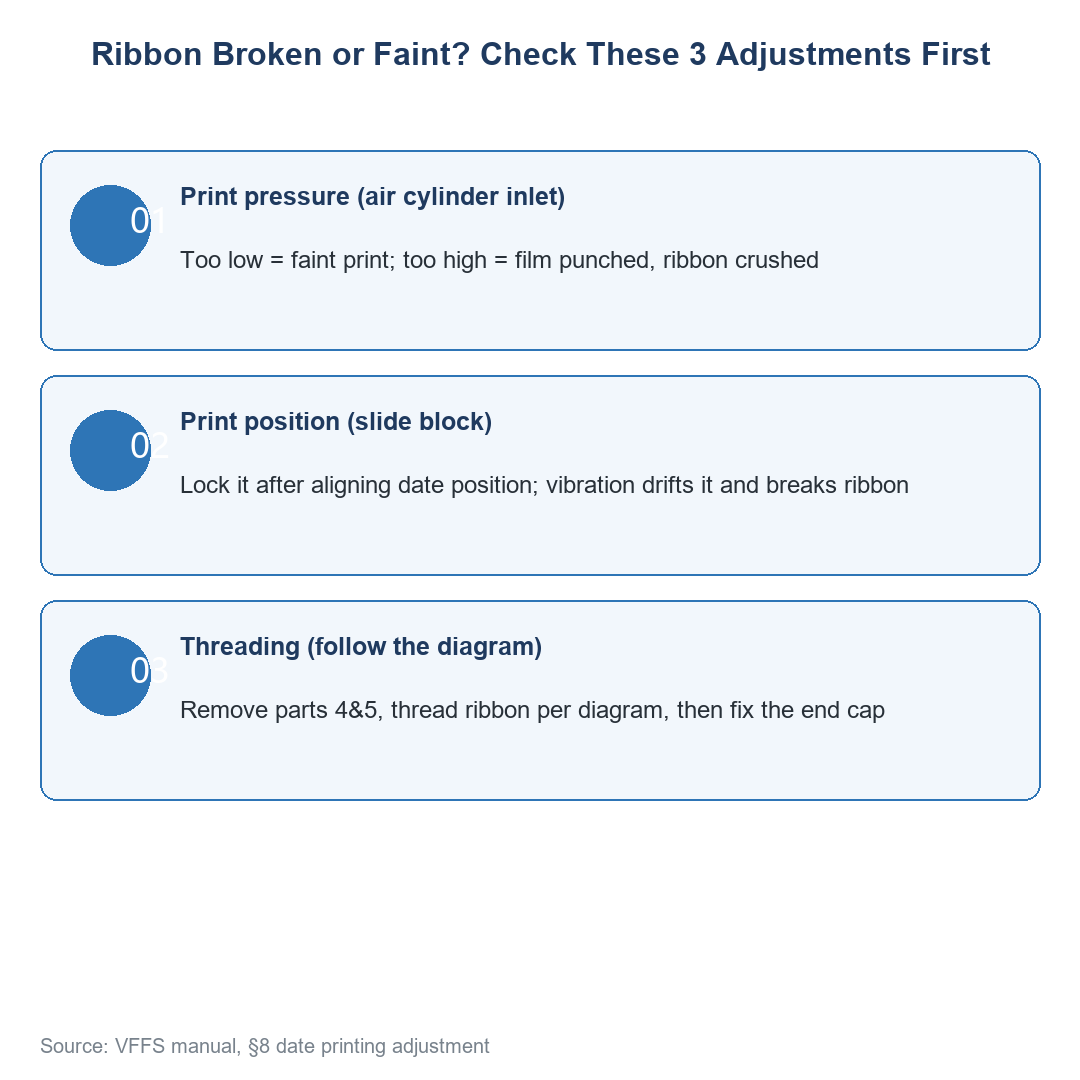

Fig. 1: Print pressure vs mark / film (from manual §8.1, §8.2)
Pressure is not 'the more the better'.
• Too low: thermal transfer is weak — mark faint and intermittent, looks 'out of ink' when the ribbon still has life;
• Too high: it punches or burns through the film and crushes the ribbon — the real cause of most 'breaks';
✔ Target is one thing: a clear mark without punching the film. Nudge the air inlet in small steps and run two bags to check.
03 Point Two: Print Position — Slide It, Then Lock It
“The printing unit slides forward/back to set the date position; once locked it must not move.”
— VFFS instruction manual §8.3
⚠ If you slide the position but don't lock it, vibration shifts the unit, the ribbon tracks off-edge and tears within a few bags. Lock it right after aligning.
04 Point Three: Thread the New Ribbon by the Diagram
“When the ribbon is used up: remove parts 4 and 5, replace it, thread the ribbon as shown, then fix the end cap.”
— VFFS instruction manual §8.4
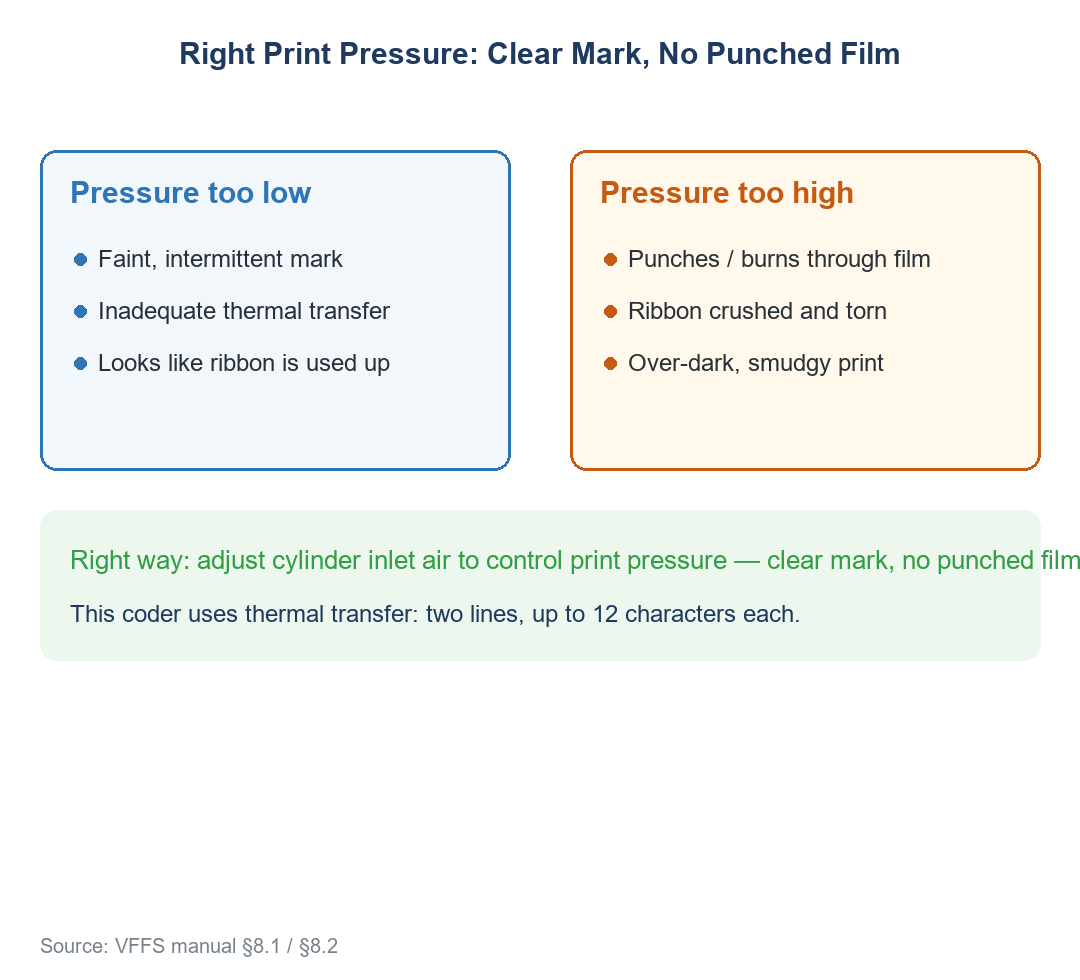

Fig. 2: The 3 adjustment points (from manual §8)
• Step 1: remove parts 4 and 5 and take out the old ribbon;
• Step 2: thread the new ribbon strictly along the diagram — do not pull it by feel;
• Step 3: fix the end cap, then run two bags to confirm.
05 Quick Reference: Ribbon Fault Table
Table 1. Ribbon quick reference (from manual §8)
|
Symptom |
First suspect |
Fix |
|
Faint / intermittent mark |
Print pressure too low |
Open the cylinder inlet until clear |
|
Film punched / burnt |
Print pressure too high |
Close the inlet; err low rather than high |
|
Ribbon keeps breaking |
Position not locked / off-track |
Slide to center, then lock the unit |
|
New ribbon jams at once |
Not threaded per diagram |
Remove 4&5, re-thread by diagram, fix cap |
✔ This coder is thermal transfer: two lines, up to 12 characters each — keep your date/batch line within the limit.
Final Thoughts
Next time the ribbon "breaks", ask three questions first: is pressure right? is the position locked? is the ribbon threaded by the diagram? Pass all three and you often don't need a new roll.
Next article: the daily "golden 30-minute" maintenance checklist after shutdown.
Still fighting faint print? Send us your film thickness and the exact print symptom — our engineers will tell you whether it's a pressure issue or a real ribbon change. Reply with keyword "coder" for the adjustment diagram.


